Content (approx. 800 words):
In the rapidly evolving world of cryptocurrency, securing your digital assets is more critical than ever. As cyber threats grow increasingly sophisticated, storing your cryptocurrencies in an unsecured wallet can expose you to the risk of theft or loss. Hardware wallets, like those offered by Trezor, provide a secure and user-friendly solution to protect your digital investments. This guide will walk you through getting started with Trezor, explain why it’s essential for security, and provide step-by-step instructions to manage your crypto safely.
Why Choose a Trezor Hardware Wallet?
Trezor, developed by SatoshiLabs, was one of the first hardware wallets on the market and remains a trusted option for cryptocurrency users worldwide. Unlike software wallets, which store your private keys on a device connected to the internet, Trezor keeps them offline. This “cold storage” approach ensures your private keys are never exposed to potential hackers. With Trezor, you can securely store a wide range of cryptocurrencies, including Bitcoin, Ethereum, Litecoin, and many ERC-20 tokens, all from a single device.
Trezor wallets also come with robust features such as PIN protection, passphrase encryption, and recovery seed backups. These features make it nearly impossible for unauthorized users to access your funds. Additionally, the device is simple to use, making it ideal for both beginners and experienced crypto investors.
Step 1: Purchase and Unbox Your Trezor Device
The first step is purchasing your Trezor device. Ensure you buy it only from the official Trezor website or authorized resellers to avoid counterfeit products. Once your device arrives, check that the packaging is sealed and untampered. Inside, you’ll typically find the Trezor wallet, a USB cable, recovery seed cards, and a quick-start guide.
Before connecting the device to your computer or mobile device, take a moment to read the instructions carefully. The recovery seed cards are particularly important—they are the only way to restore your wallet if the device is lost or damaged. Never share your recovery seed with anyone, and store it securely offline.
Step 2: Connect and Initialize Your Wallet
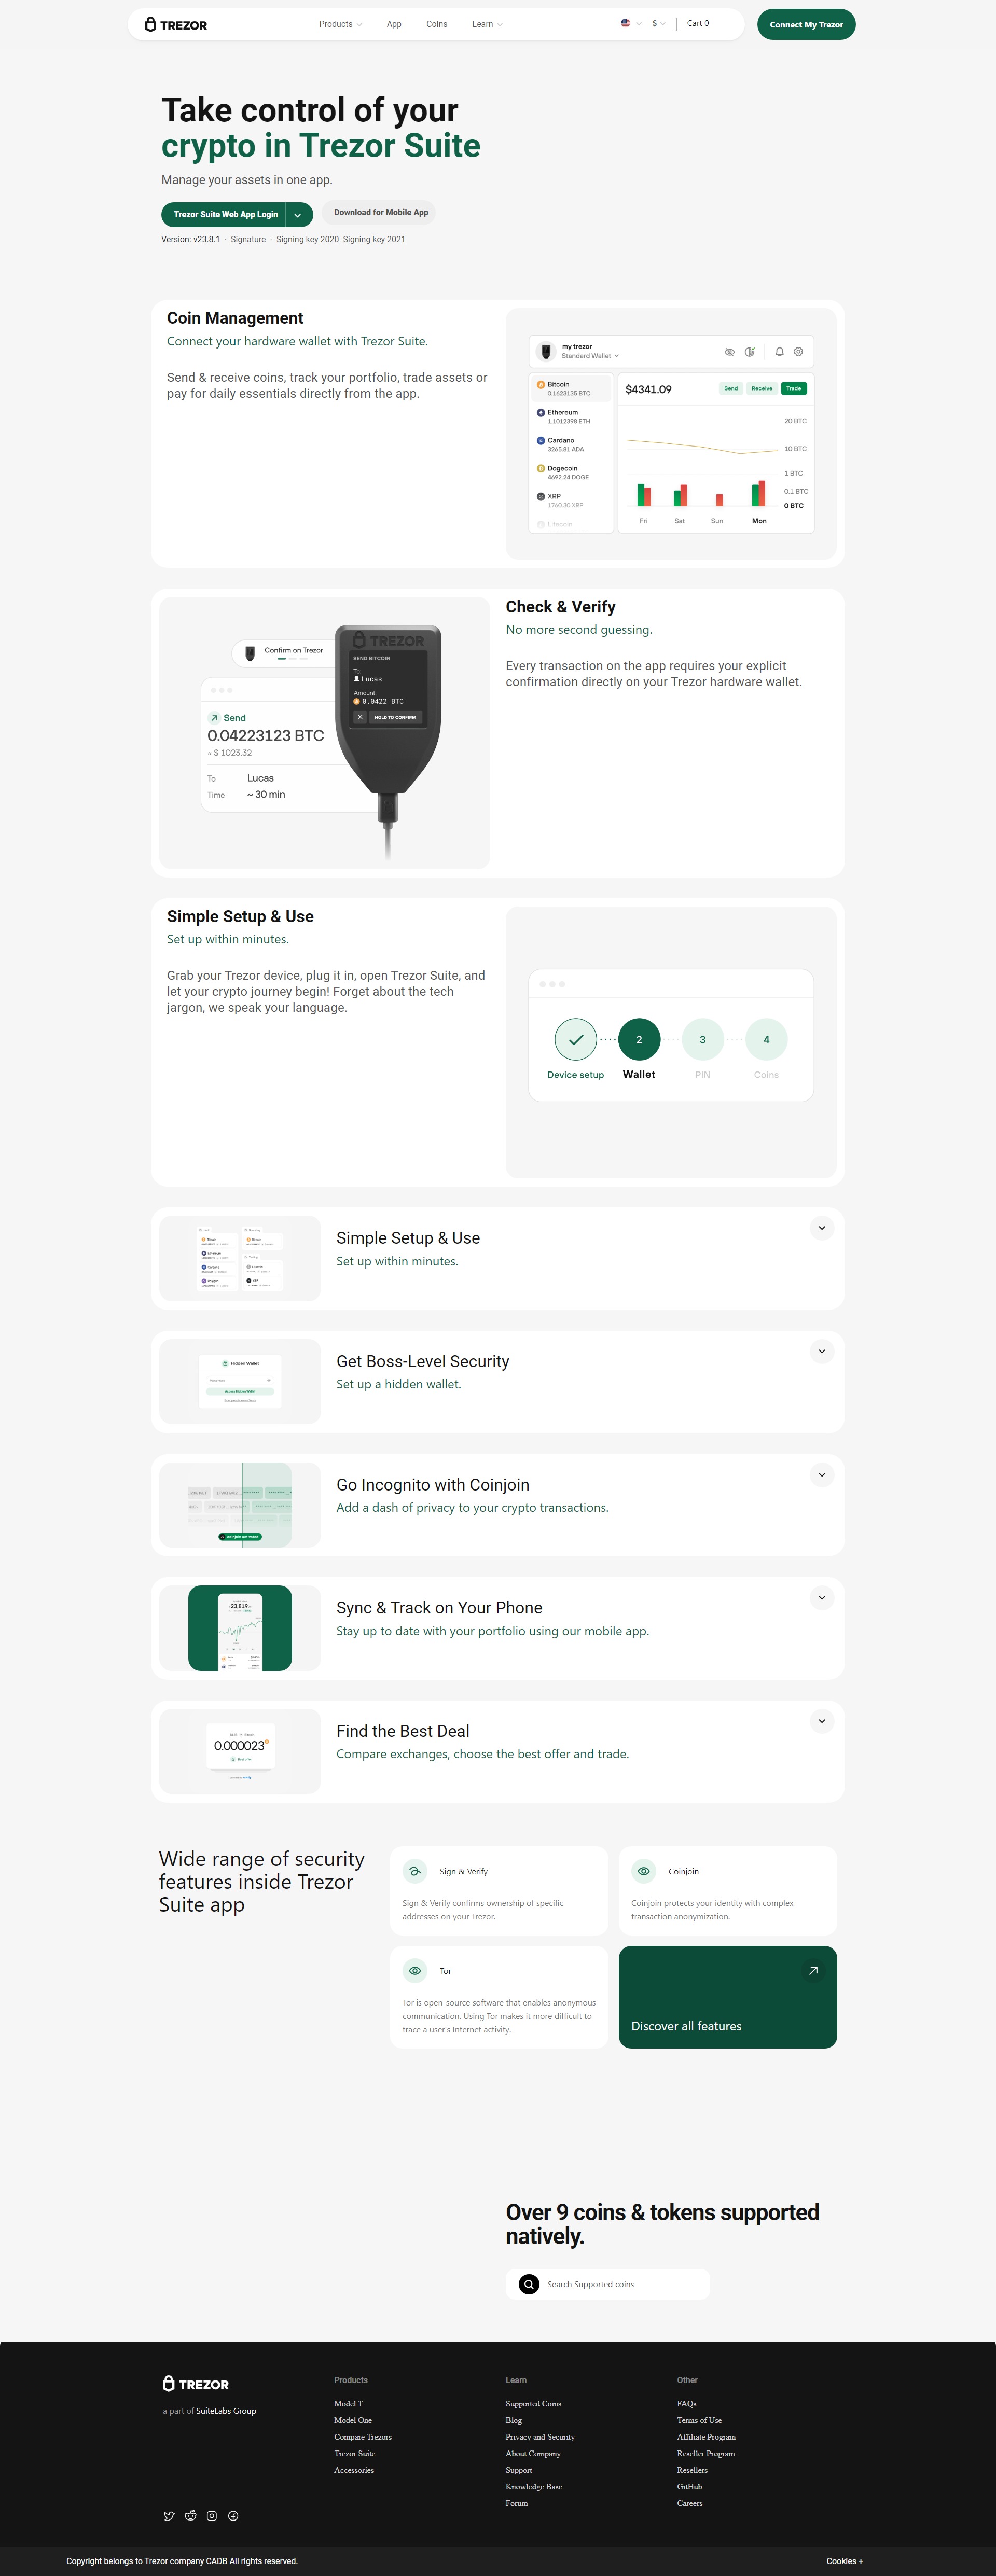
To start using your Trezor wallet, visit trezor.io/start. This page will guide you through downloading Trezor Suite, the official application for managing your crypto. Trezor Suite is available for Windows, Mac, Linux, and also has a web interface compatible with Chrome and other browsers.
Once installed, connect your Trezor device to your computer using the USB cable. Follow the on-screen instructions to set up your wallet. You will be prompted to create a PIN code. Choose a unique PIN that is difficult to guess, but make sure you remember it. The PIN protects your device even if someone gains physical access to it.
Step 3: Secure Your Recovery Seed
After setting up your PIN, Trezor will generate a recovery seed—a series of 12 or 24 words. This seed is crucial: it’s essentially a backup of your wallet. If your device is lost, stolen, or damaged, you can use this seed to recover your funds on a new Trezor device or compatible wallet. Write down your recovery seed carefully and store it in a safe, offline location. Never store it digitally or share it with anyone, as access to your seed means access to your funds.
Step 4: Add Cryptocurrencies to Your Wallet
With your Trezor initialized and secured, you can begin managing your cryptocurrencies. Trezor Suite allows you to add different coins to your wallet, view balances, and send or receive transactions. Each cryptocurrency is stored with a separate account within the device, but all are protected by your single PIN and recovery seed.
To receive crypto, select the desired cryptocurrency in Trezor Suite and copy your wallet address. Use this address when transferring funds from exchanges or other wallets. Always double-check the address before sending, as cryptocurrency transactions are irreversible.
Step 5: Regular Maintenance and Updates
Trezor wallets periodically release firmware updates to improve security and add new features. Regularly checking for updates ensures your device remains secure against emerging threats. Updating is simple and guided through Trezor Suite, but always verify you are downloading firmware from the official Trezor site.
Tips for Maximizing Security
Conclusion
Trezor offers one of the safest and most reliable ways to manage your cryptocurrencies. By following these steps—purchasing from a trusted source, initializing the device, securing your recovery seed, and adding cryptocurrencies—you can protect your digital assets from hackers and accidental loss. With a Trezor wallet, you gain peace of mind, knowing your investments are secure, while still maintaining easy access to your funds whenever needed.
Whether you are new to cryptocurrency or a seasoned investor, integrating a hardware wallet like Trezor into your digital security strategy is a smart and proactive choice. Start today by visiting trezor.io/start and take control of your crypto safely and confidently.
If you want, I can also rewrite this in a more “friendly blog style” with storytelling elements to make it more engaging and less technical, still around 800 words.
Do you want me to do that?